
This month we:
Here is a collage of some pictures from this month's example.

The images shown in this example are in the "computer" as a result of being obtained from a digital camera or from scanning a photograph or other item. The following shown images default to digital camera origin and, if not, the shown picture will be identified as a scanned image. If digital camera, the photograph has normally been taken at an Olympus Camera "HQ" setting of 1.3 megapixels (1280 x 960), with some pictures having been taken at less pixel detail ("SQ") 0.3 megapixels 640 x 480). In most cases, even if the digital picture was taken at these-mentioned sizes, the picture has been resized for showing on computer screens. I try to keep most images to have a maximum height of 600 pixels for computer-display. I use Paint Shop Pro (from JASC) as my primary application for modifying/resizing/coming photographic images into one image (photo).
Scanned photographs are scanned at 300 PPI (Pixels Per Inch), 150 or 100 PPI, and the chosen PPI will be identified in the comments for that particular image.
The following is aimed at showing examples of using a computer system, digital cameras, and perhaps scanners, as part of home computing environment. Hopefully, the shown pictures will give you some ideas for use of your home computer system.
Contact SCScompA if you have any comments/questions regarding anything that is shown in this Web page.
This month, I had someone send me an image via eMail. This, to many of us, is a quite straight-forward matter. To some home computer users, though, who may be new to the world of eMail, may have some questions.
In this small example, the following happened:
However, I -- and many other users of eMail -- prefer to have an image attached to the eMail message rather than have the image immediately shown on the display as I read an eMail. So - I was not displeased with the attached-file approach.
So -- I had to read the .mim file before I could view the image.
The WinZip action resulted in four files: Two JPGs and two text files.
The sender thought he sent me one JPG.
The above brief scenario was due to a couple of reasons. One, the sender was an Apple user and the sender's eMail application "assisted" the sender by building the MIME file (a .mim on my Windows' system) containing all the files that the sender pointed to (inside a directory) on the Apple system. Two, the sender was relatively new to the "attachment to eMail" world.
Again: This was not a problem to me -- but, to someone who might have been expecting a single JPG to be attached/read, there may have been some confusion.
To discuss this more, if you have such a situation, don't hesitate to contact someone you trust for assistance.
Now, for this newsletter's example, I want to discuss the image as-sent.
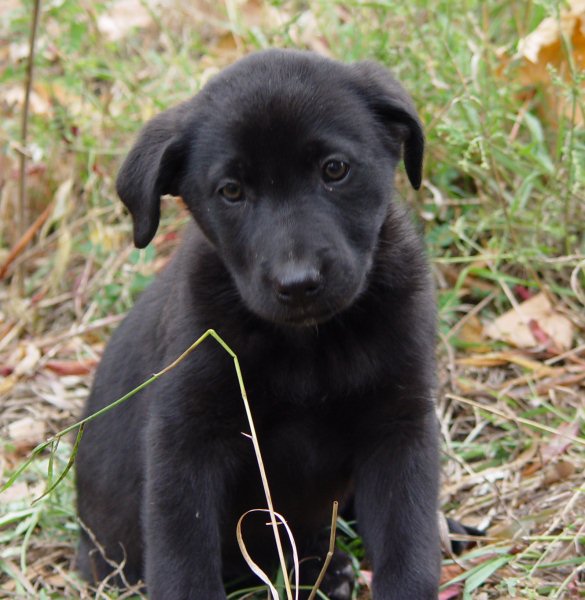
Summary: Sent image was 1596 x 1636. My PC max is 1024 x 768.
Actually: I try to make the images I use on my PC/display have a max of 600 pixels high (rather than the above-mentioned 768). This limit normally ends up with adjusting the width to be around 800 max. This is good for my use!
After I resized the image, the size I used was: 508 pixels wide and 600 pixels high.
I do the above, using PaintShop Pro.
First, the image (resized for this example from the "too large" original:
Next, the image I used (slightly cropped, modified contrast/brightness and added text):
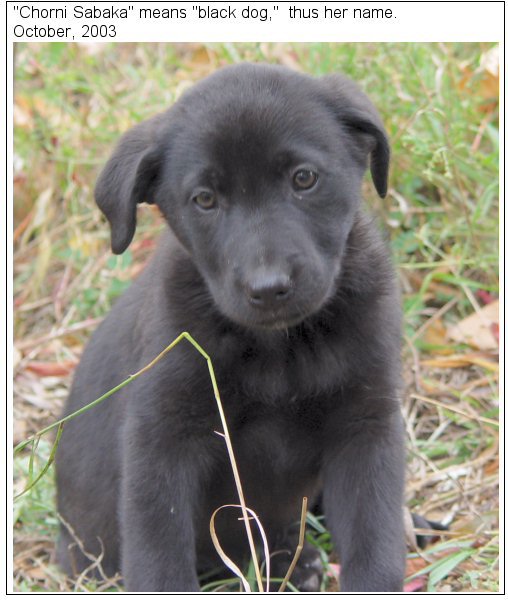
I hope this example encourages you (if you are new to the world of eMail and images) to examine the image or images -- and your eMail approach prior to sending attached or imbedded images.
This time of year (November) we (probably!) have access to a calendar for the upcoming year.
For this small example, I scanned two pictures from a calendar and, in turn, put the two pictures into a "calendar" image of my own. Using PaintShop Pro.
Give the approach a try (for your own use -- not for commerical reasons!) if you have a need from something similar.
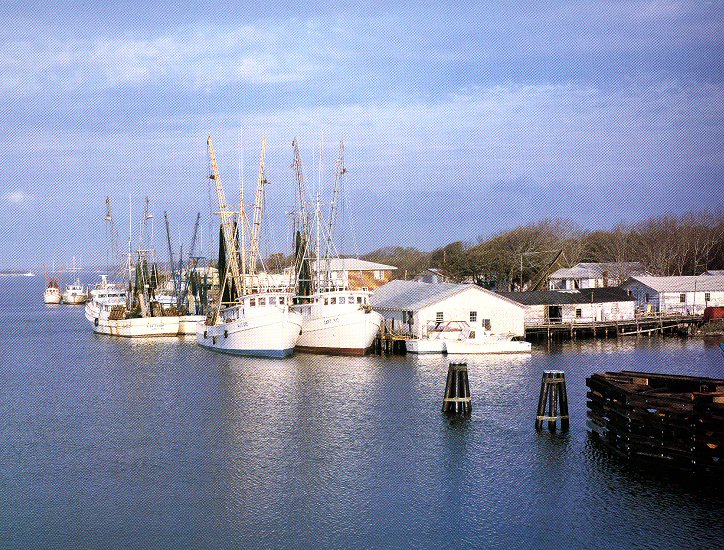
First, the two pictures, shown in normal size (resized for showing on the PC/display to have a height of 550 pixels): (Also used crop, auto-contrast neutral, and sharpen options of PaintShop Pro)
Scanned Image 1
Note the somewhat "grainy" texture to the shown-image. That is due to the scanned original. I scanned the original at 150 Pixels Per Inch. If I scan it at 300 less of the original's paper-grain would be apparent. However, for this small example (to save scanning time and PC resources) I accepted the 150 specification's quality. It is sufficient for example purposes.
Scanned Image 2
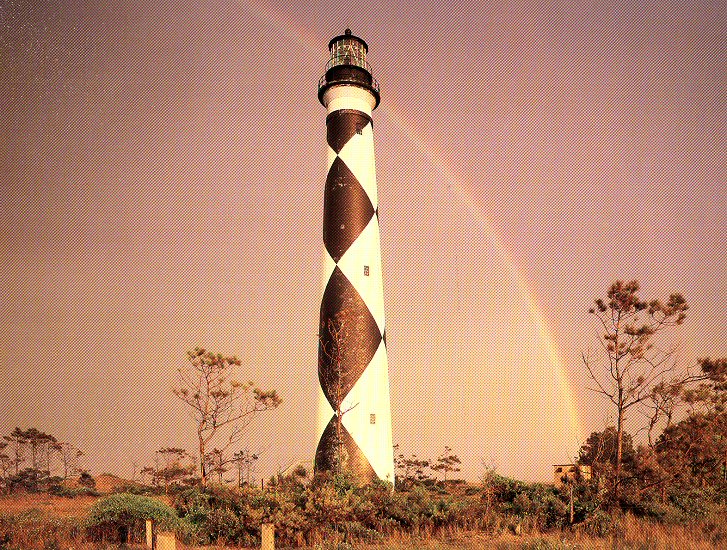
Next, I built a "blank month" area using PaintShop Pro and its Preset Shape Tool support.
Blank Month
The area at the top of the blank month has space for a 230-pixel high and 520-pixel wide image. Both dimensions are maximum values for this example.
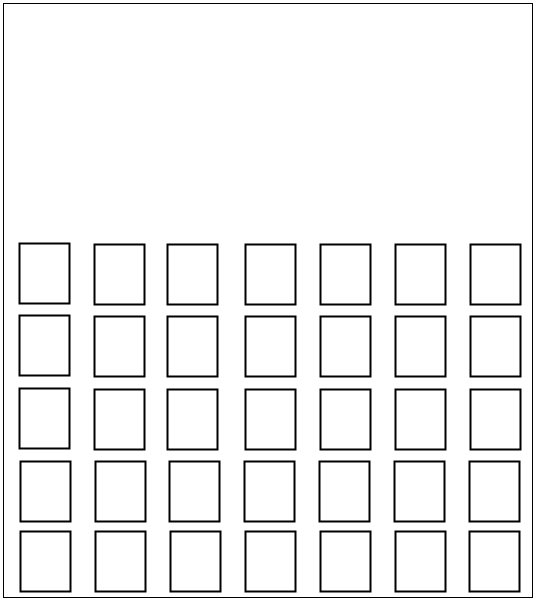
Filled In Month
All that is needed, now, is to make our calendar page!
I bring a scanned image and the "blank month" image into PaintShop Pro and:
Move the re-sized image into the blank month image.
The result:
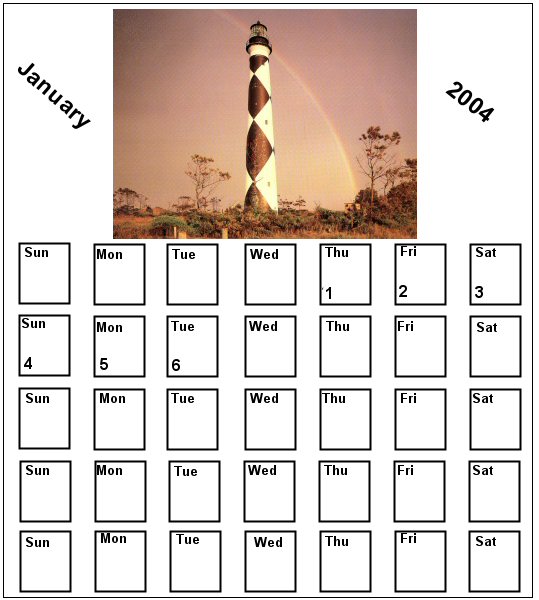
Next, I print the filled-in image for my use. I may resize the printed image to fit an entire printed page -- or smaller, to fit an appropriate need.
If interested, save the above "blank month" image and give it a try using your own images (for example, vacation pictures or pictures of family members who have birthdays on certain months).
Let me know how you do!
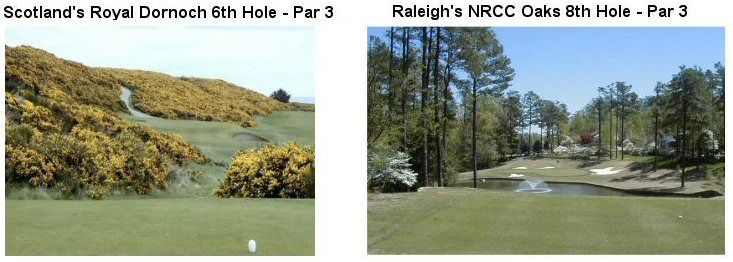
Again this month I select two golf holes (Par 3s this time), one on the USA side of the Atlantic Ocean and one on the England/Scotland side of the Atlantic.
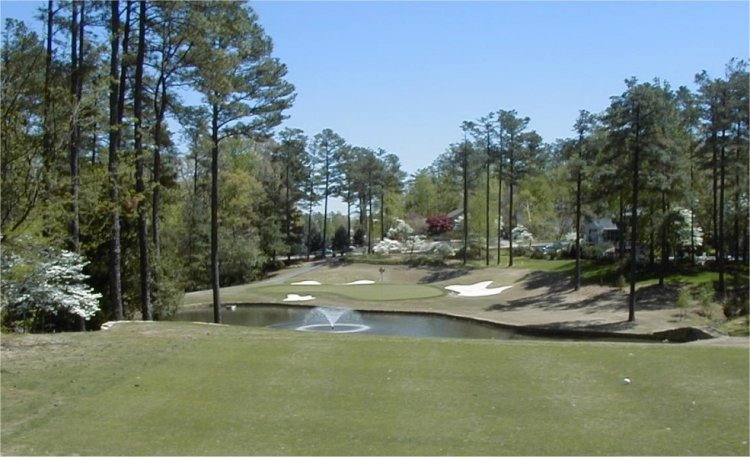
Both pictures were taken in the month of April. The gorse is in bloom in Scotland -- and the Dogwoods are in bloom in USA! Nice.
A USA Golf Hole Raleigh's NRCC Oaks 8th Hole
Multiple tees and teeing locations, with water between the tee shot and the green, make this a challenge each time it is played. For some players, depending upon pin placement, the left-side trees come into play.
Scotland's Royal Dornoch Golf Club's 6th Hole
I love this par-3. Truly, love it. Especially in April!
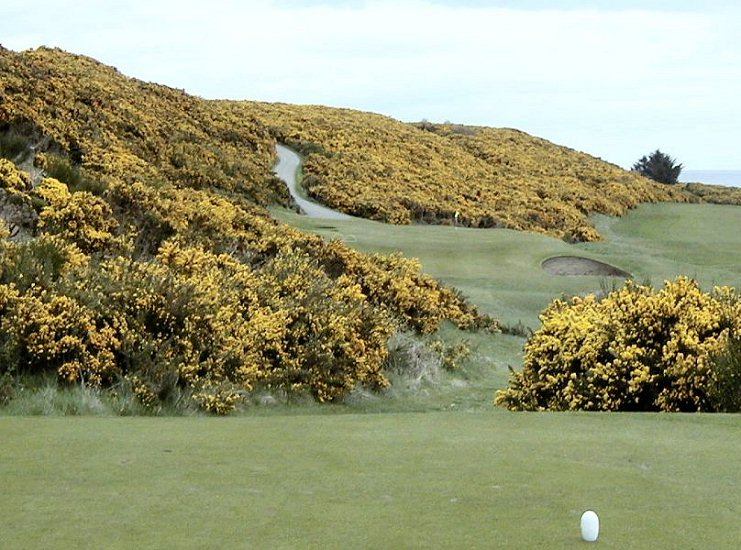
Although the sky/environment was different when the photos were taken, it is easy for a golfer to envision playing these two slightly-downhill par 3s. Both, are fine golf holes, with each offering its own challenge/frustration/joy to the player.
.........
I wish you well in your picture taking and travels or other activities -- and hope you share that with a journal and Web-type of presentation you share with family/friends.
---------------
To contact me about anything on this Web page, please:
send mail to: SCScompA@aol.com
------------------------------
To return to SCScompA's newsletter October 2003 page click on: SCScompA October 2003 newsletter or use your Web browser's Back button.