This Web page includes panels from the first step of using Microsoft Word to assist the user in building/printing an Address List.
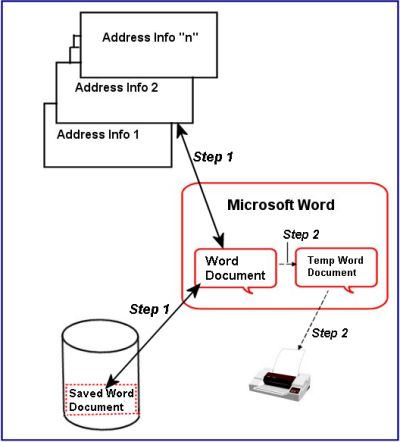
First, as a review, here is what we are aiming to demonstrate. This Web page is regarding Step 1:
As shown above, we obtain the address book information from some source. A set of address cards, for example.
Once we have the address list information, we open Microsoft Word. In this example, we start with a New document.
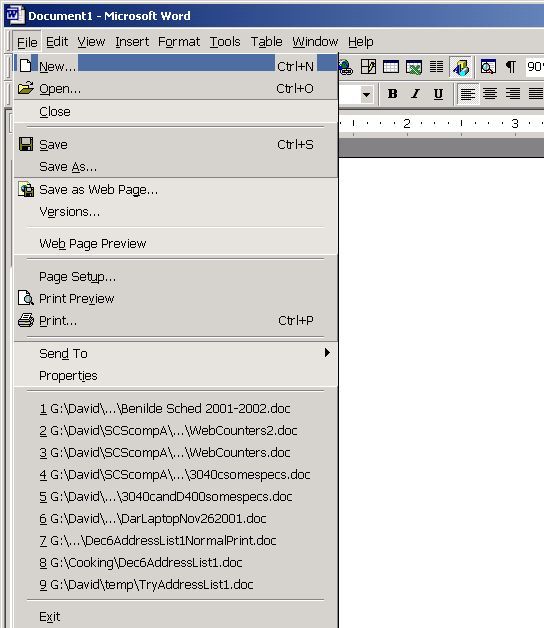
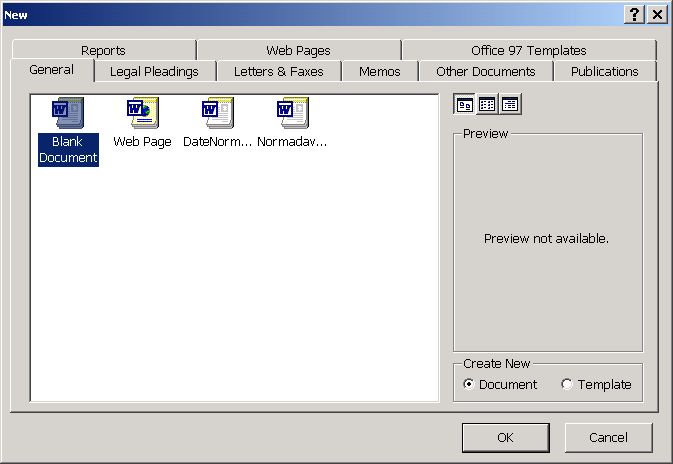
Assuming that this is the first time we have entered into Word this set of address list information, we start with a Blank Document.
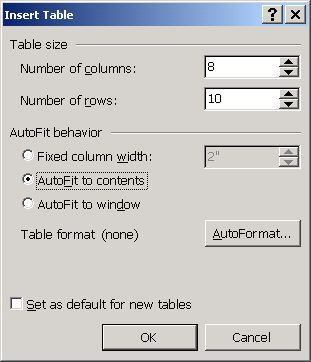
Once we have the new document open, we begin by creating a Word table. We will place the address list information into that table.
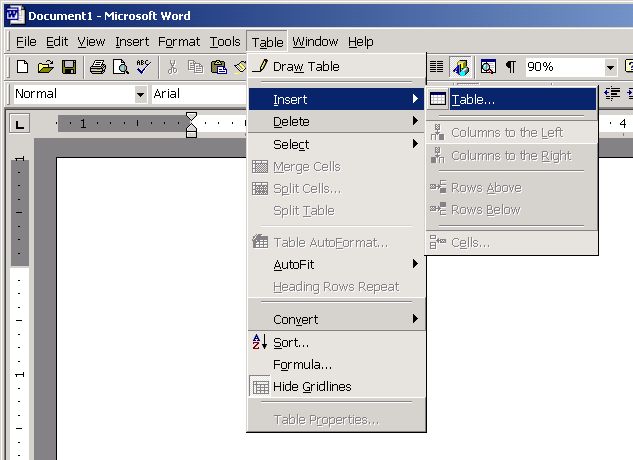
The number of columns in the table is the number of address "fields" you have within an address for this set of information. First names are "field one", in this example, Last names are "field two", and so on. We allow (again: in this example) for eight maximum fields.
The number of rows are the number of address list entries. In this example: 10.
Once the table is created we can change either the number of columns or the number of rows.
We choose "AutoFit to contents" (in this example) for convenience. Word, as a result, will modify the table's cell size automatically for us.
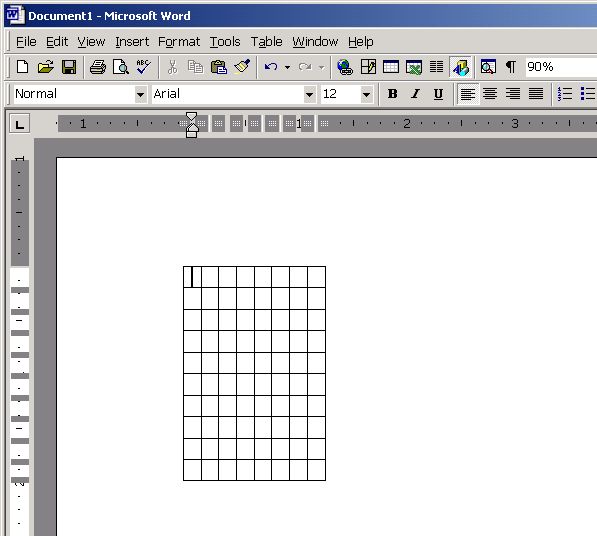
Since we asked to auto fit the cell size, the table shows at the beginning very small cells! No problem. We will fill in the information we want within a particular cell (such as first names in cell one of a row, last names in cell two, and so on.
I like to place into the first row of the table a "heading" for what each address list "field" is. Again, this is just for convenience. When we later print the addresses the first address of the printout will be "wasted" by these titles.
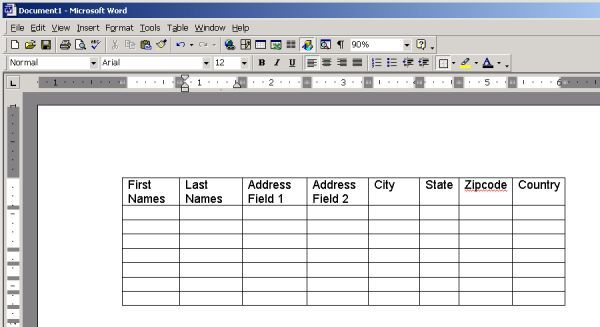
Now that we know what cell/field of the table should have what information, we begin entering the address information that we have!
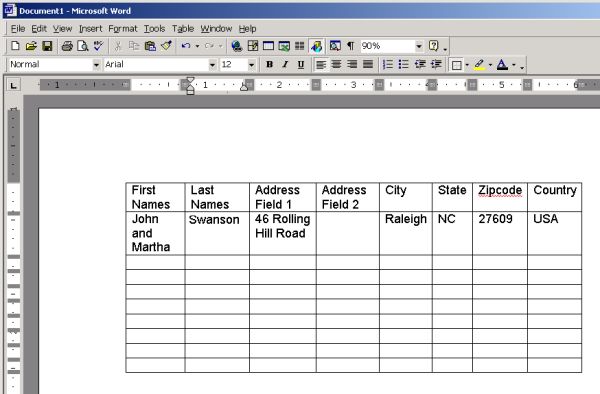
Eventually we have entered more addresses. In this example we should only five "real" addresses -- plus the first "heading" row.

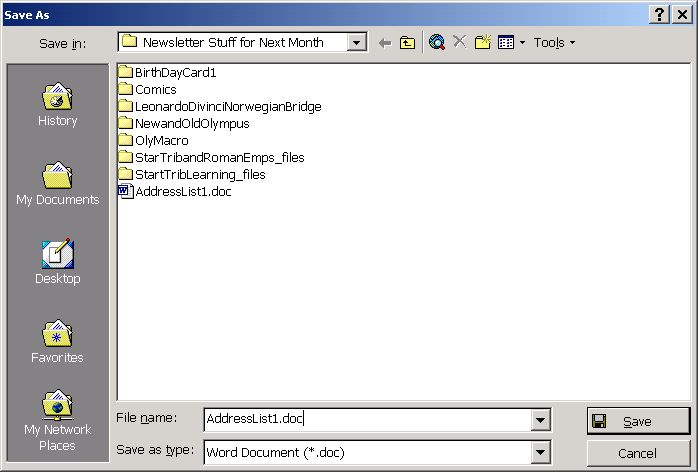
When ready to, we save the address list with some name -- into some Windows folder that we can later-on open (again) with Microsoft Word.
And: We remember to someday "back up" the saved Word file!
Now, we have completed Step 1 of our address list Word activity and we can move forward with printing the address lists.
------------------------------
Use your Web browser's Back button to go to SCScompA's November, 2001 Web page or click on: SCScompA November, 2001 Web page.