
The photographs shown in this example are, mostly, taken from a digital camera (in this case: an Olympus D-400 Zoom) and the digital image moved from the camera to the PC by use of a Camedia Floppydisk Adapter. Other photographs in SCScompA's examples are in the PC as a result of scanning the photograph. The following pictures default to digital camera origin and, if not, the shown picture will be identified as a scanned image. Scanned photographs are scanned at 300 DPI (Dots Per Inch) or 100 DPI, and the chosen DPI will be identified in the comments for that particular image.
The following is aimed at showing examples of using the PC, digital cameras, and perhaps scanners, as part of home PC environment. Hopefully, the shown pictures will give you some ideas for your home use of PCs.
If you are taking a vacation in the future or otherwise have pictures you want to share with family/friends, the approach taken by this Web page (basic use of HTM tags) is an easy way to meet your aims. Remember, the HTM and images need not be put out on the Web to share with others: You could put the HTM file and the images into a file and send that file (either using a RW/CD, a ZIP floppy, a set of 3 1/2" floppies using hand-carry, snail-mail, or Internet transmission of the material) to your friends/family on their own PC.
If you include, also, a Word document discussing the material (for example, a travel or other journal you keep related to the images): Wonderful!
Contact SCScompA if you have any comments/questions regarding anything that is shown in this Web page.
During our recently-completed annual April vacation to Scotland I made good use of my Olympus digital camera. Upon returning form the vacation I have had to fit in time for reviewing/documenting the pictures.
Although that is a fun time, it does take time to do it! I did not, prior to getting the digital camera, participate much in review/documentation of pictures. In those previous days, the pictures were sent to a photographer for developing and after we paid the development costs -- we glanced at the "real" photograph, selected some for possible enlargements and framing, perhaps put some of the selected photos in a trip portfolio, and put the rest in a "photo box" for storage. I was not much involved in this process -- another family member did the work -- but, I was certainly a beneficiary of looking at the photos!
Now, I am quite involved. Why? Well, I have time I did not have previously when I worked "full time" -- and, I also am on the PC quite a bit.
Therefore, I:
In some cases, you may not have a digital camera. OK! Then, consider purchasing a scanner (quite reasonably priced: $100 or less USA will normally do fine) and scan the photos into your PC.
I try to keep the photo download times to less than 5 elapsed minutes per "set" of photos using 56KB Internet connection. I find 5 minutes per set to be a reasonable download/display time. If your friends/family have high speed Internet connection: Terrific -- then, the download/display times will be near-instantaneous! Good.
Following are some of my April, 2001 vacation's photos. They are presented simply as examples and, hopefully, to encourage you to make use of your photos/documentation online.
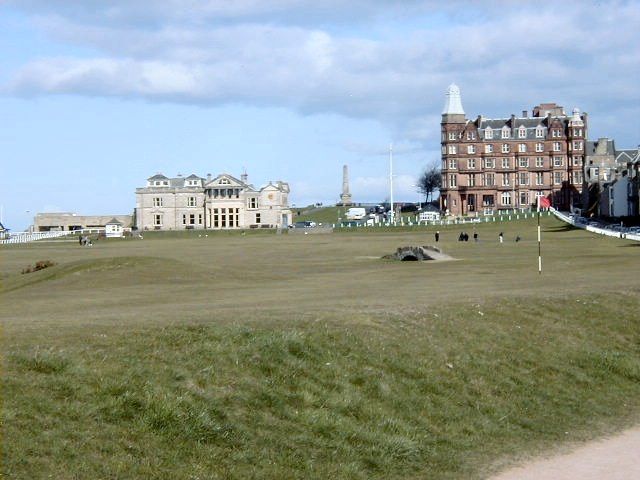
We have shown/seen the St. Andrews Royal and Ancient clubhouse a number of times in this year's pictorial review -- and, rightly so since that is a very famous (to golfers) sight. The Royal and Ancient clubhouse was built in the 1800s.
In the 1990s, St. Andrews built a clubhouse for visitors. It has a nice restaurant with views overlooking the courses of St. Andrews, terrific locker rooms, and we make use of the clubhouse each time we play at St. Andrews.
This is the 17th green of the Road Hole at St. Andrews Old Course.
One of the most famous par 4s in golf, the Road Hole greenside bunker is inside the mound shown in the left side of this picture. The road (a portion is shown in the bottom right of this picture) is in play and a ball lying on the road needs to be hit up the incline to the green while keeping the ball from rolling over the green and possibly into the Road Hole greenside bunker.
The Swilken Bridge awaits the players who finish the 17th hole and have hit their drive up the 18th towards the clubhouse of the Royal and Ancient.
A truly magical location for a golfer to experience at least once in his/her golfing lifetime.
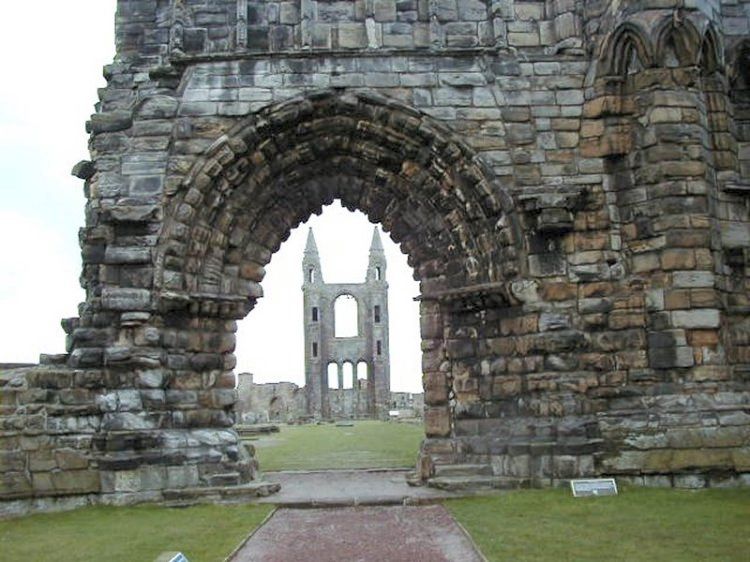
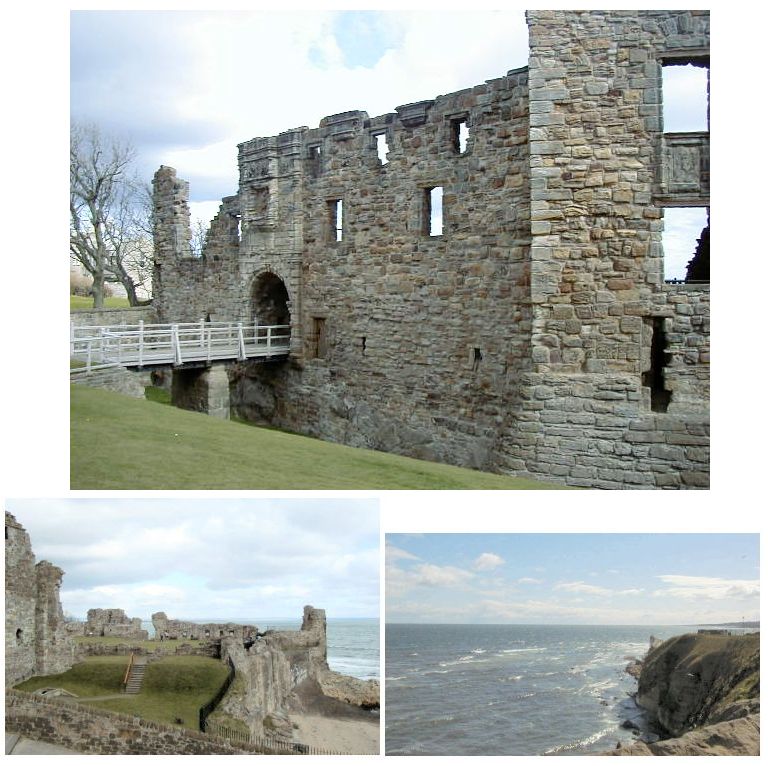
The ruins of St. Andrews are part of the history of Scotland and are now quite protected. In the past, however, battles were fought and fires destroyed parts of St. Andrews.
Well protected by the sea.
A typical street in the town of St. Andrews.
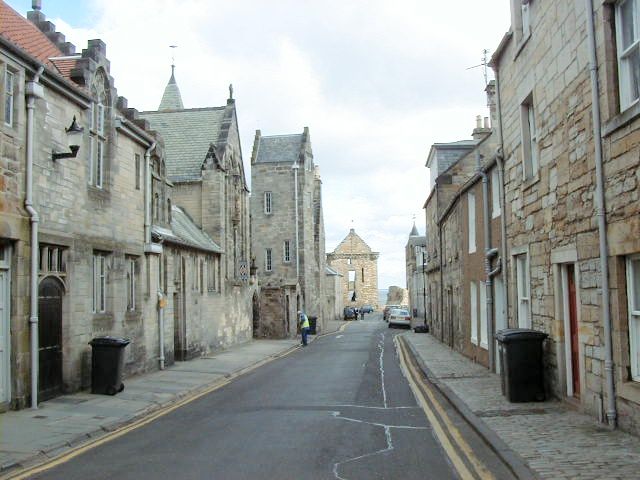
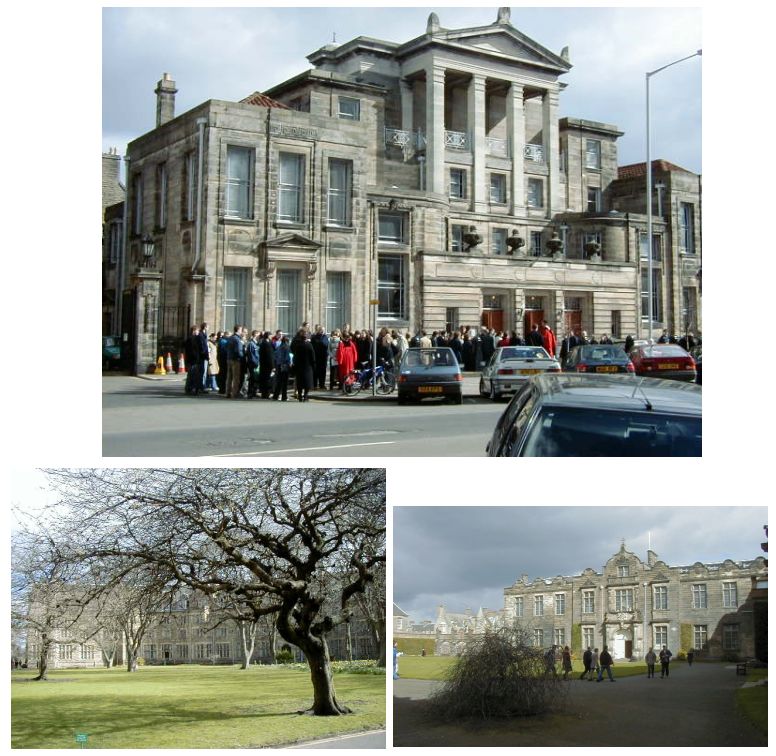
The oldest university in Scotland and one of the oldest in Britain has about 12,000 of the 25,000 persons who make St. Andrews their home.
Prince William will be attending the University starting in September, 2001.
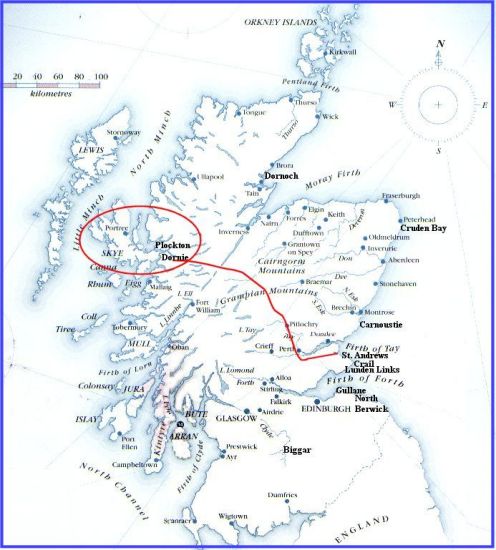
On Thursday morning, April 19 we left St. Andrews for a planned two days in the Isle of Skye area. We drive north and after a stop at the House of Bruar (a tourist-shopping/lunch spot) near Pitlochry we cross part of the Scottish highlands to Dornie. Dornie is near to the bridge to Isle of Skye.
While at Dornie we also visited the town of Plockton.
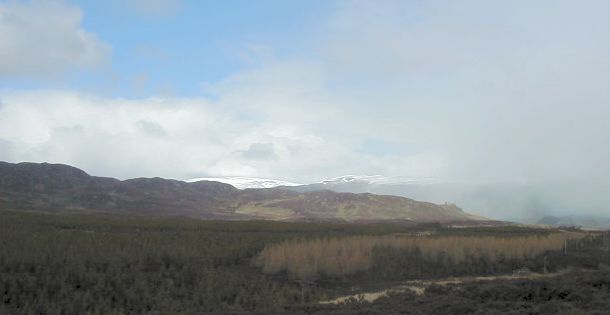
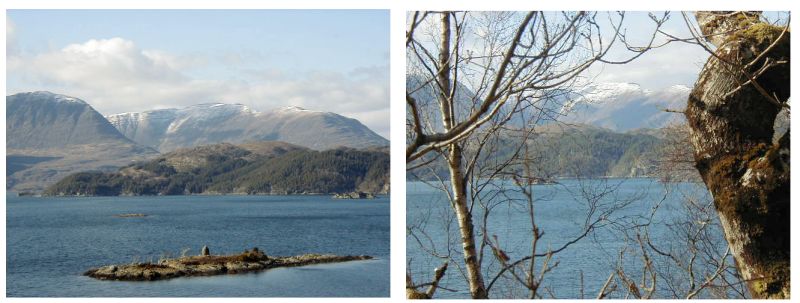
Crossing the highlands, even from the highway, yields some haunting, beautiful, views.
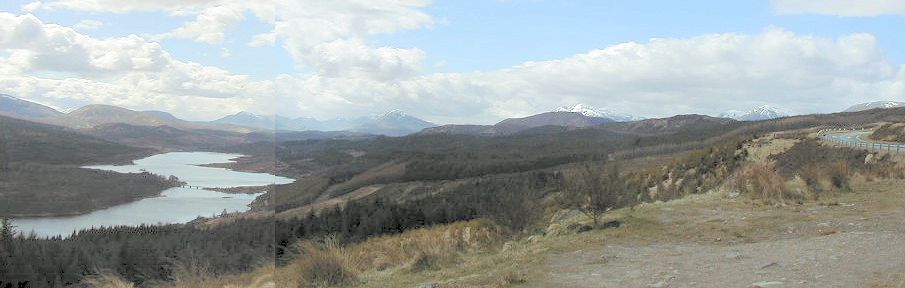
After settling in at our B&B in Dornie, we headed to Plockton.
The scenery as we drove from Dornie to Plockton was terrific. It is easy to see why this is popular hiking countryside.
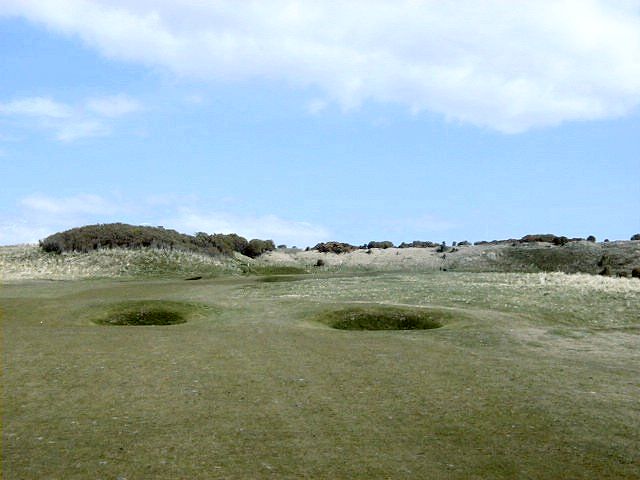
This is the second shot, up a slight hill, to my favorite par-4 we play in Scotland: The 13th hole at Gullane #2 Golf Club.
Let me know if you are a golfer and know this golf hole -- or, if you are not a golfer but have walked the area (many people visiting the Gullane area walk along the seashore and cross the golf course just prior to where this picture is taken from).
 .........
I wish you well in your picture-taking and travels or other activities -- and hope you share that with a journal and Web-type of presentation you share with family/friends.
---------------
To contact me about anything on this Web page, please:
send mail to: SCScompA@aol.com
------------------------------
To return to SCScompA's newsletter June 2001 page click on: SCScompA June 2001 newsletter or use your Web browser's Back button.