This month we discuss:
Here is a collage of some pictures from this month's example.
The images shown in this example are in the "computer" as a result of being obtained from a digital camera or from scanning a photograph or other item. The following shown images default to digital camera origin and, if not, the shown picture will be identified as a scanned image. If digital camera, the photograph has normally been taken at an Olympus Camera "HQ" setting of 1.3 megapixels (1280 x 960), with some pictures having been taken at less pixel detail ("SQ") 0.3 megapixels 640 x 480). In most cases, even if the digital picture was taken at these-mentioned sizes, the picture has been resized for showing on computer screens. I try to keep most images to have a maximum height of 600 pixels for computer-display. I use Paint Shop Pro (from JASC) as my primary application for modifying/resizing/coming photographic images into one image (photo).
Scanned photographs are scanned at 300 PPI (Pixels Per Inch), 150 or 100 PPI, and the chosen PPI will be identified in the comments for that particular image.
The following is aimed at showing examples of using a computer system, digital cameras, and perhaps scanners, as part of home computing environment. Hopefully, the shown pictures will give you some ideas for use of your home computer system.
Contact SCScompA if you have any comments/questions regarding anything that is shown in this Web page.
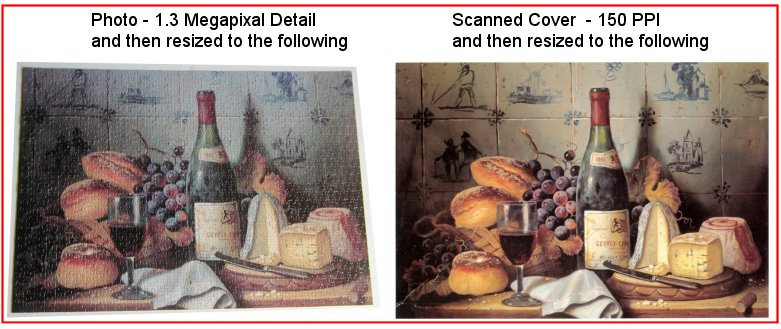
I enjoy puzzles over the holiday season. For those of you who follow my newsletters, you have seen previous examples of the puzzles we worked on this season.
Our second (and final) puzzle is summarized below.
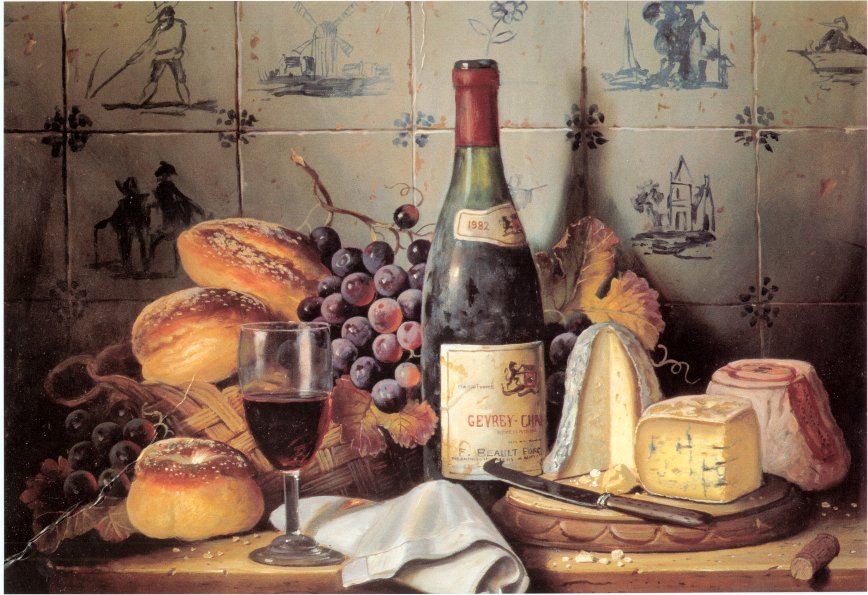
The scanned puzzle cover turned out terrific -- it was scanned at 150 PPI (pixels per inch) and the image was resized to 868 Pixels wide and 595 pixels high as shown below. The reason for the dimensions is, keeping an image less than 600 pixels high and around 900 pixels wide allows for many PC screens and Web browsers to display the image at one time on the PC display. If either dimension of the displayed image is larger than 600x900 I resize the image (using PaintShop Pro) to fit within my desired height/width.
The Objective
The scanned cover is below. Download size is 124Kb.
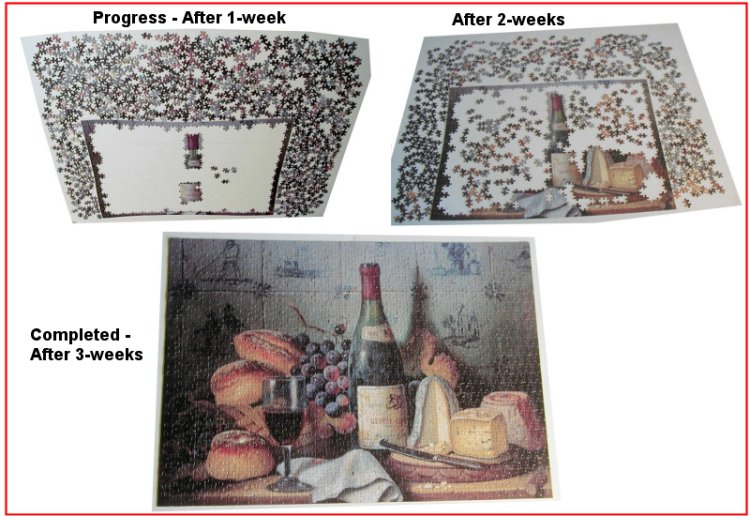
The Progress
Our progress/completion is shown, below. Download size is 93Kb.
Ours and Theirs'
The scanned version has the advantage (from a photography point of view) of "perfect lighting". We would have to experiment to come up with good lighting for the digital camera's version -- but, since we are not "professional photographers" we take a couple of pictures and select the one we like the best! Download size is 146Kb.
Perhaps the above examples encourage you to use your scanner and/or camera when working on a home project! Do that, as often as your time allows. The saved images will be appreciated someday, if not immediately.
I often mention my newsletters that I am not a professional photographer. That is for certain!
However, I try (as does anyone who takes a picture) to achieve an end photograph/image that is to my liking.
In my case, this "linking" is often (most of the time!) limited to what I see on a PC display. Yes, sometimes I print a photo -- but, generally I show all of my images on a PC display and print those that I select for printing.
If the picture looks terrific on a PC display, my experience with printing is that if it looks good on the PC display the printout will be fine, as well (assuming I use the appropriate paper-type -- HP Premium Paper or Photo Paper -- and at least Normal or, preferably High level of printing detail).
Light -- and the affect of the environment (sun, direct lighting, snow, darkness) -- is a major factor in coming up with an acceptable photograph / computer-display image.
Also, the level of detail the camera is set at ("megapixels" in the digital camera world...) can be a contributing factor.
Assuming the picture is taken with adequate settings, some camera-download-to-the-PC applications try to assist us by resizing the digital image for us. For example, the application might ask "Do you want the image set up for Internet showing?" In such a case, the image (for my tastes) is "too small". I prefer a large image and, then, resizing that image myself to keep to the previously-discussed 600 pixels high and 900 pixels wide specifications.
In any case, I received recently a set of images that were "set up for Internet" display. After receiving the image, I saw that the lighting could be modified/enhanced by using PaintShop Pro -- but not the size of the image.... when I enlarge the smaller image I lose detail/quality of the input image.
Summary: I recommend you try as often as possible to not have the application you are using to set up your images "prepare the image for Internet". Keep the images as large as your system can handle -- and, as a final step, save a copy of the image with the 600 pixels high and 900 pixels wide specification.
In any case -
The following example tries to show you the affect of using an application such as PaintShop Pro (or whatever your home PC system has installed) to affect the lighting of received previously-taken photographic images.
Sometimes, the enhancement works quite well! Give it a try, as a general practice, if you are not already doing so.
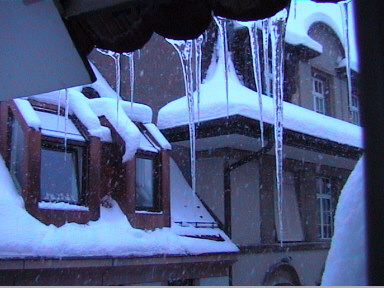
Snow in St. Gallen Switzerland February 2003
This is an example of pictures before/after Auto Contrast using Paint Shop Pro.
Many image-processing applications have such support.
Often, when using a digital camera we capture pictures in either too-bright or too-dark environments and the digital camera tries to adjust things for us -- but after moving the captured-image to the computer system our image processing application can assist us.
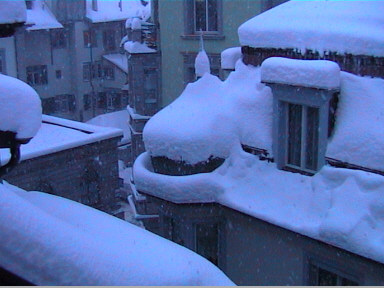
The following bright-snow environment is one such example situation.
|
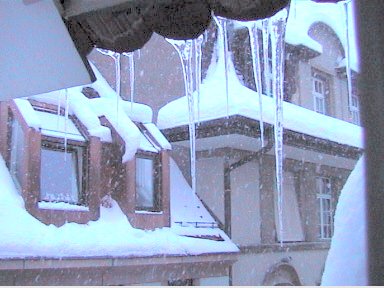
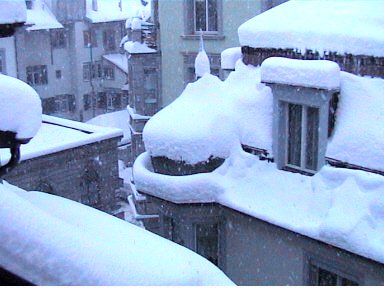
Examples of PaintShop Pro's Auto-Contrast Support
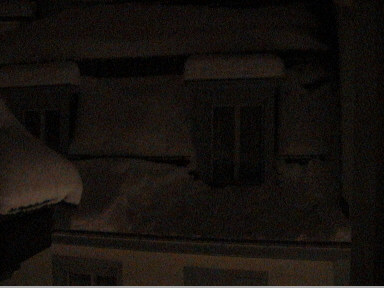
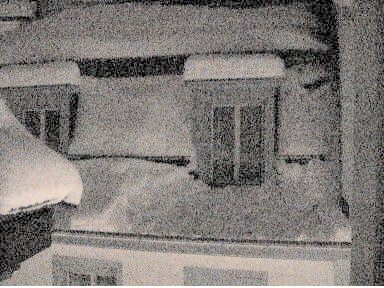
Shown on the left are the images as they arrived from the camera. As mentioned earlier in this newsletter, the pictures are the size they are due to their being processed by the user's application with an option "Prepare for the Internet". The resultant images are quite small in size and are not readily able to be enlarged. If you desire (as I do...) a large sized image in the PC do not use your provided applications "Prepare for Internet" function. Shown on the right are the images after being processed using PaintShop Pro's Auto Contrast.
|
|
You might think there is nothing in the picture.
| There is something!
|
Again, the picture is very dark.
| At least we can see what was intended to be shown!
|
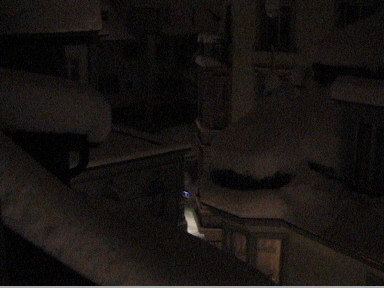
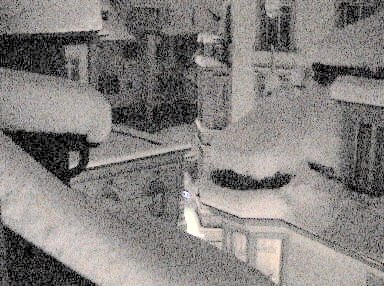
The photo's subject - Snow - is very bright and the camera tries to assist us -- but the image is quite dark on the computer.
| This is more to my liking -- but, actually, the non-assisted image on the left is quite striking. Which do you prefer?
|
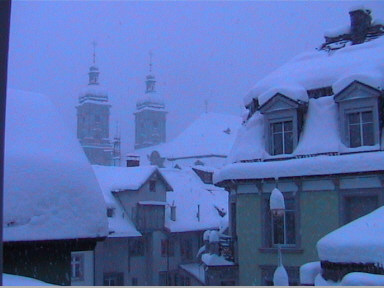
Another example.
| Again - Which do you prefer?
|
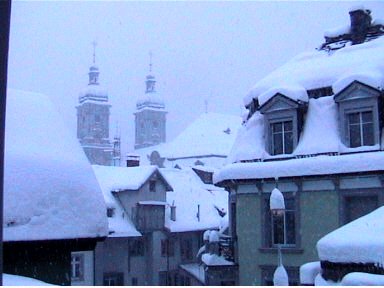
Our final example.
| And, again - Which do you prefer?
|
Take advantage of your home computer system's image processing application to enhance your images as possible.
A few other images/photos that I would like to show this month are below.
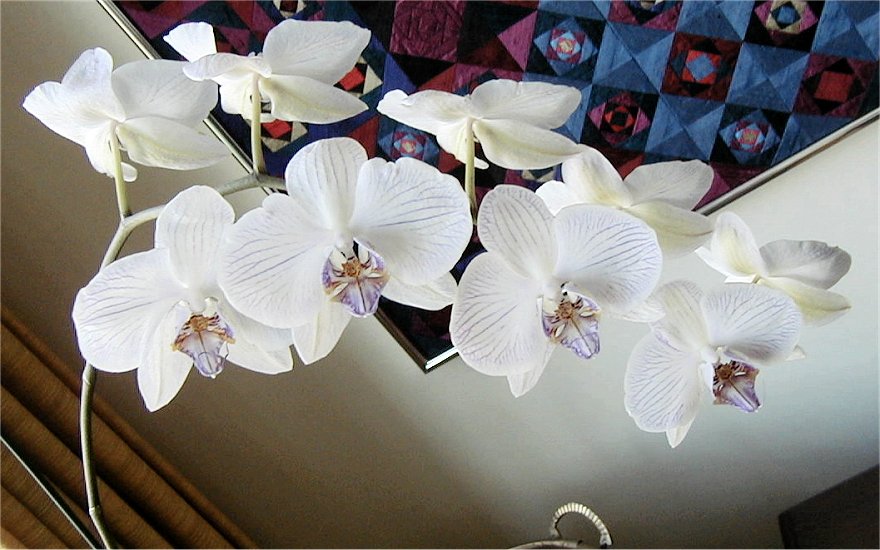
Orchids
The orchids continue to come forth this year. We got lucky with one that has a maximum number of orchids-on-the-stem. (Nine - on this stem). It is very beautiful in real life -- and not bad in the following image!
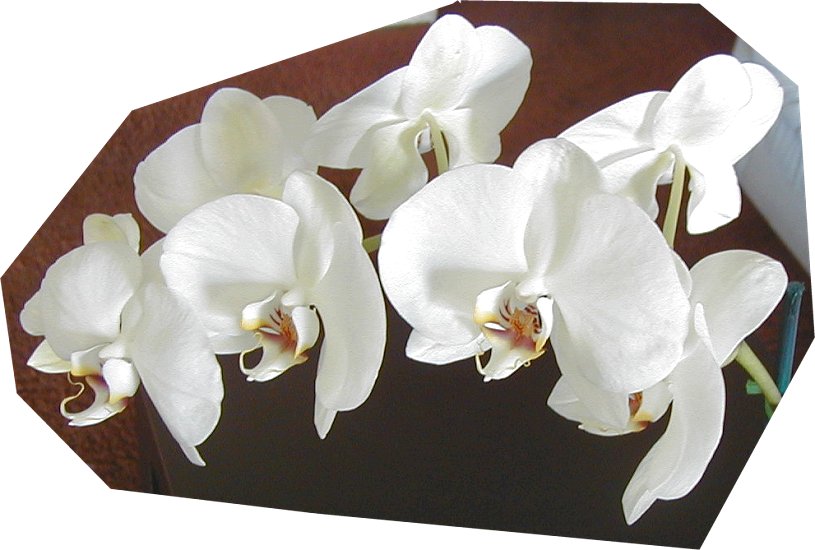
Another orchid has a stem of 8.
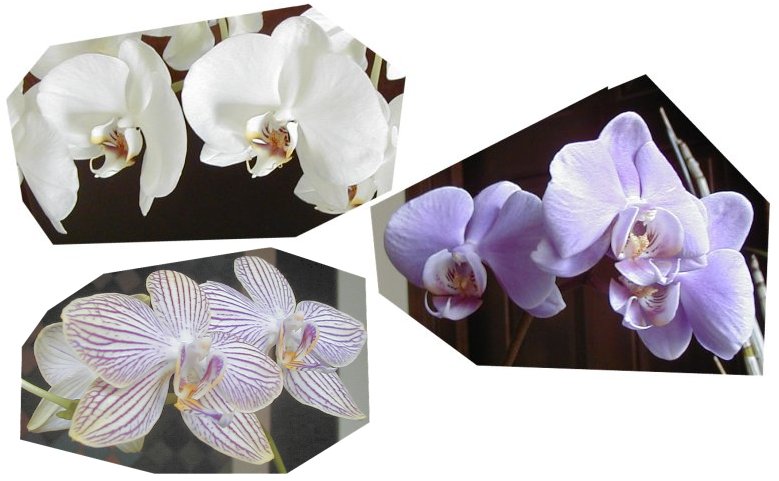
And other orchids are in the area.
Watching the Orchids
Outside the window of the orchid area, a bystander was enjoying things earlier this morning. The photo was taken through a screened window.
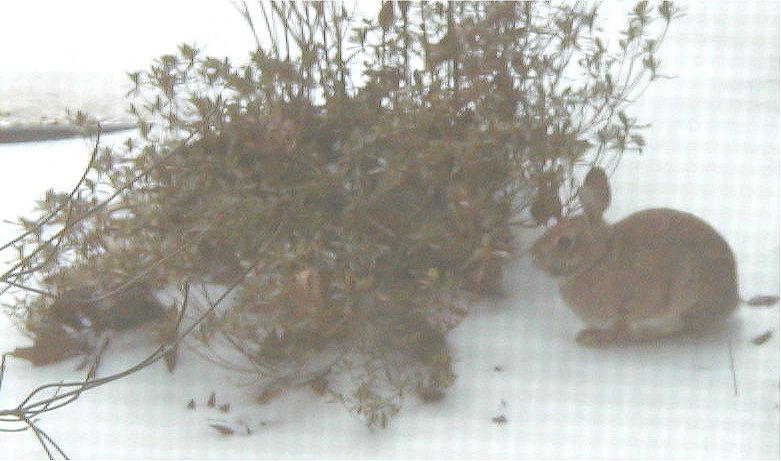
Take time to use and to enjoy "Still Life" around your home computing environment.
Take advantage of your PC/system, your camera (digital or non-digital!), and your scanner.
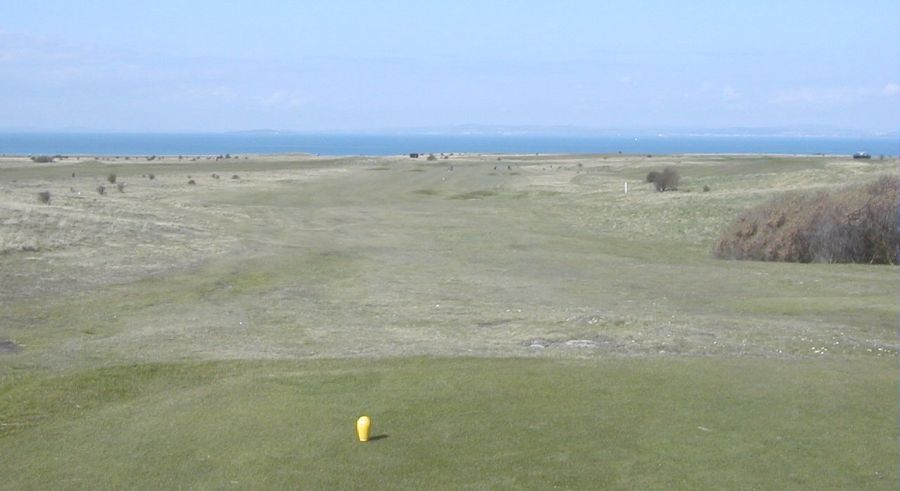
Let's take a look at two golf holes this month -- and, let's have the two golf holes be in different parts of the world!
I chose two par 5s. One is in Scotland and one in Raleigh North Carolina, USA. I will be fortunate to play both of them as 2003 moves forward.
As you will see in the following pictures, the two holes (although both par 5s) are quite different in appearance and atmosphere. I enjoy both places.
A medium-long par 5.
From the "top of Gullane hill" tee location, a nice drive will result in a second shot that needs to be slightly right to miss fairway bunkers that protect the second-shot landing area short of the green.
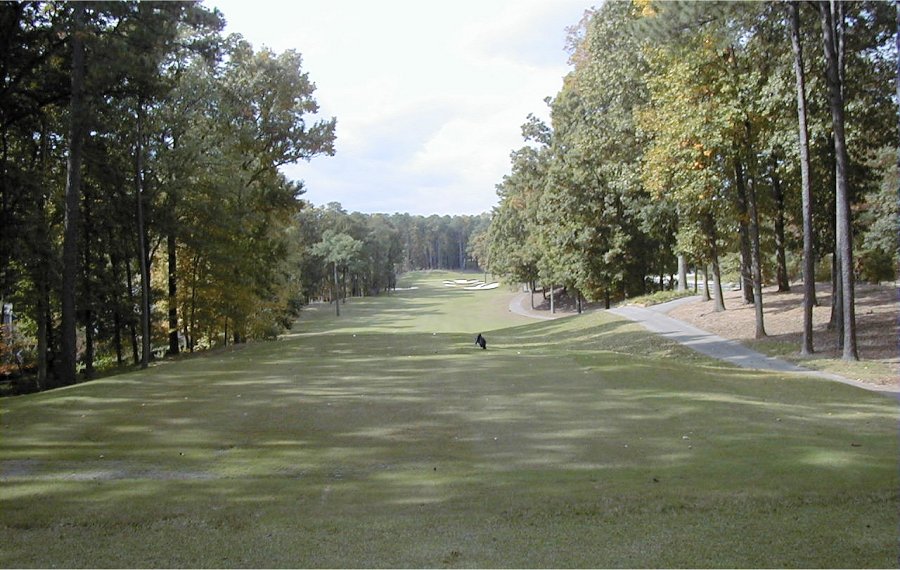
In many player's opinion, the closest that North Ridge has to a "Signature" hole. A true 3-shot hole for all but the very-long hitters from all tees.
First Shot. The Out of Bounds on the left as well as the tree line left comes into play for many of us. The hill/mound/trees on the right also catch any right-side tee shots.
The further you can be in the fairway, the easier the hole becomes -- due to the creek/hazard the crosses the fairway about 320 yards out for most players; about 345 from the back tees.
Subtract your normal drive from 320 yards and that is the distance that you need to make a decision for your second shot.
.........
If you play either of these golf holes, let me know how you do -- and which environment you prefer!
I wish you well in your picture taking and travels or other activities -- and hope you share that with a journal and Web-type of presentation you share with family/friends.
---------------
To contact me about anything on this Web page, please:
send mail to: SCScompA@aol.com
------------------------------
To return to SCScompA's newsletter January 2003 page click on: SCScompA January 2003 newsletter or use your Web browser's Back button.