
Note: Multiple images are downloaded by this file. Please have patience until your web browser lets you know it has downloaded the images (a "Document Done" message or something similar will let you know that). It will take a few minutes! If you do NOT want to continue, just press the Stop button of your browser, followed by the Back button.
The photographs shown in this example are, mostly, taken from a digital camera (in this case: an Olympus D-400 Zoom) and the digital image moved from the camera to the PC by use of a Camedia Floppydisk Adapter. Other photographs in SCScompA's examples are in the PC as a result of scanning the photograph. The following pictures default to digital camera origin and, if not, the shown picture will be identified as a scanned image. Scanned photographs are scanned at 300 PPI (Pixels Per Inch) or 100 PPI, and the chosen PPI will be identified in the comments for that particular image.
The following is aimed at showing examples of using the PC, digital cameras, and perhaps scanners, as part of home PC environment. Hopefully, the shown pictures will give you some ideas for your home use of PCs.
If you are taking a vacation in the future or otherwise have pictures you want to share with family/friends, the approach taken by this Web page (basic use of HTM tags) is an easy way to meet your aims. Remember, the HTM and images need not be put out on the Web to share with others: You could put the HTM file and the images into a file and send that file (either using a RW/CD, a ZIP floppy, a set of 3 1/2" floppies using hand-carry, snail-mail, or Internet transmission of the material) to your friends/family on their own PC.
If you include, also, a Word document discussing the material (for example, a travel or other journal you keep related to the images): Wonderful!
Contact SCScompA if you have any comments/questions regarding anything that is shown in this Web page.
Our examples this month are aimed at two main matters:
As your vacation or other travels bring forward numerous photos, joining them together can save not only some discussions as you go through the photos with friends/family: But, also, the "joining" can end up making a good contribution to the presentation/summary of your vacation/travel or other activity.
My scanner software allows for scanning at 100, 150, 300, 600, 1000, 1200, and 2000 "Pixels per Inch".
Now, I am not a "pixel" expert -- and, I am sure there are more technical/clear ways to discuss this topic than the following: However, I want to bring forward a few points as part of this month's newsletter, so here goes! If you have comments/ideas/etc. you want to share with others in upcoming newsletters on this topic: Terrific, just forward your comments to me for upcoming newsletter discussions. Thanks.
In any case -
Now, with that said:
How small an area to be scanned -- and, what are the real advantages -- are not easy to discuss in a short newsletter item such as this Web page.
Just, if you are scanning a small (two or three inches, for example) area: Try scanning at higher-than-you-usually use levels of detail and see the difference when you display or print the scanned image.
Let me know of your progress/opinions/results!
Following, are a couple of examples.
Note: The hard-disk space (this affects the download time for you to see this picture) is:
The larger the scanned image is, the more it affects your home PC use. If you are modifying/using the scanned image, you affect system paging and other resources. As indicated above, I find 300 PPI a good value for my system.
In addition to the above-mentioned download time and system resources used, see if the following on your display have noticeable differences and let me know what you use for your scanning detail levels -- and, why you use those levels of detail. Thanks!


Note: The following was cropped on the right side of the picture for convenience while being used in this Web page.


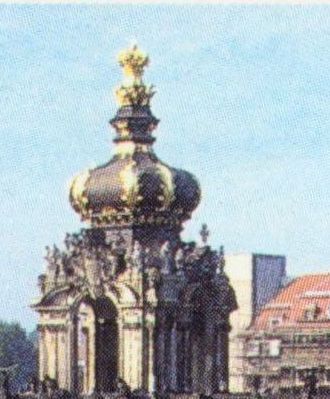

I hope the above gives you a little bit of a perspective on the affect of different scan values. As a reminder, mentioned earlier in this Web page:
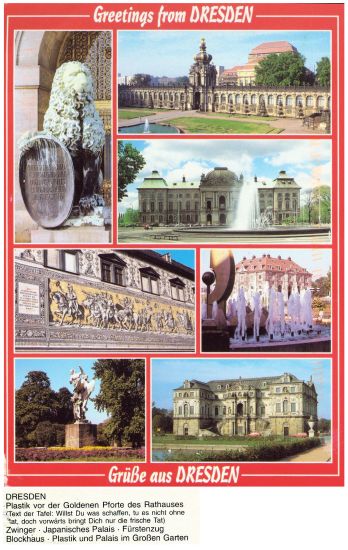
As with last month's newsletter and photo example, I include another postcard example.
The following postcard was recently mailed to me. Since I used the postcard in the previously discussed in this Web page section discussing levels of details for scanned items -- I include the following, here.
In the following scanned image of the postcard, I did the scan in two steps: 1) The main picture on the postcard. and 2) The postcard text. Then, I used PaintShop Pro to merge the picture and the text.
The scanning was done at 300 ppi (pixels per inch) and then resized to the shown 550-pixel-high image.
Perhaps you received postcards you want to share with your friends/families -- or, saved for future reference. Try the scan/save approach on your home PC!
This is another example of again using PaintShop Pro to do two things:
The two golf holes shown in the following are currently in the midst of being renovated and the pictures are used to compare before-and-as-being-renovated situations. We are all trust -- and have hopes -- that the "new" will be as nice as the "old"!
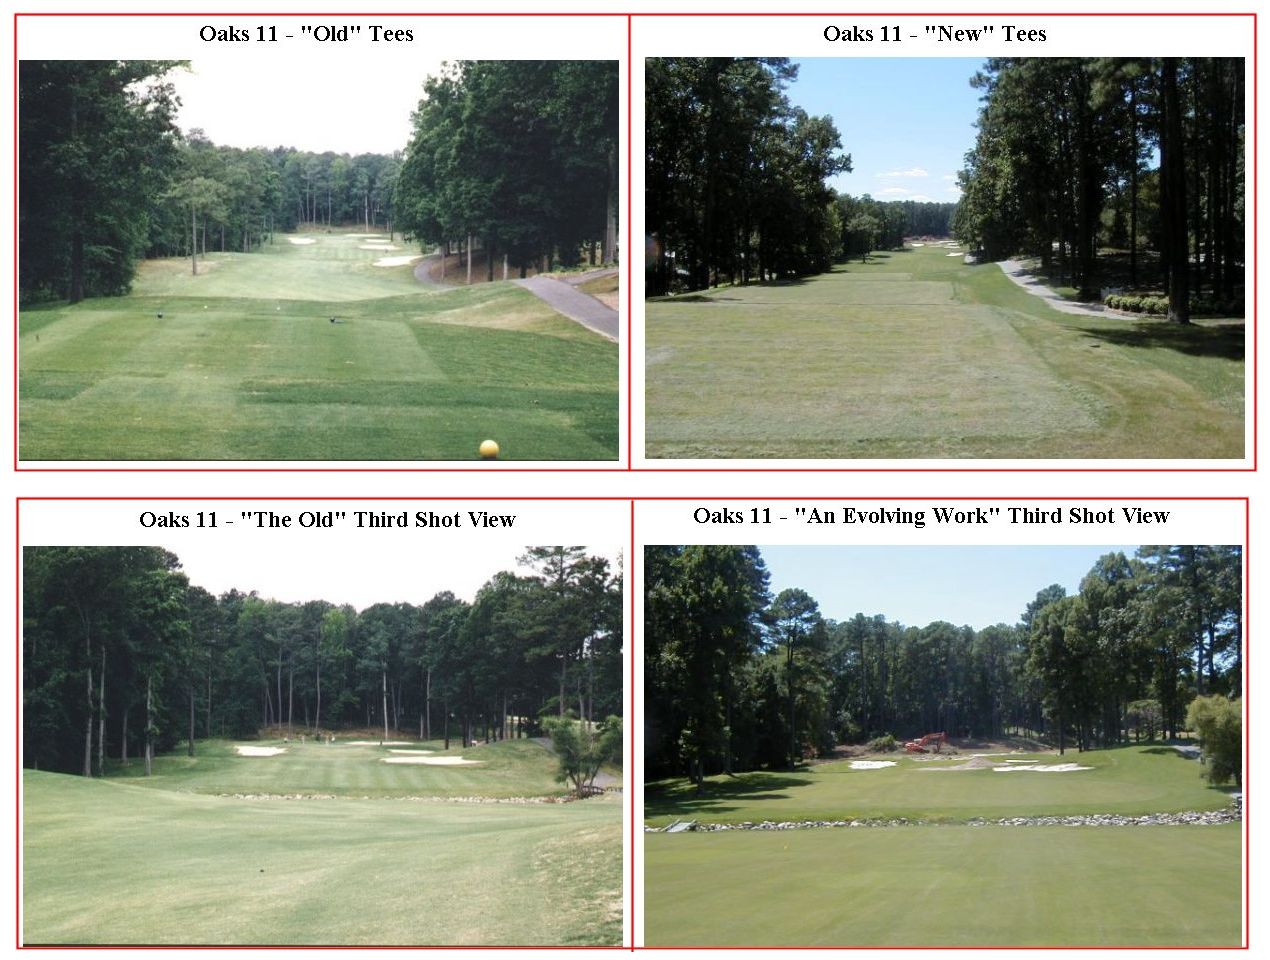
Another in-progress of being renovated golf hole.
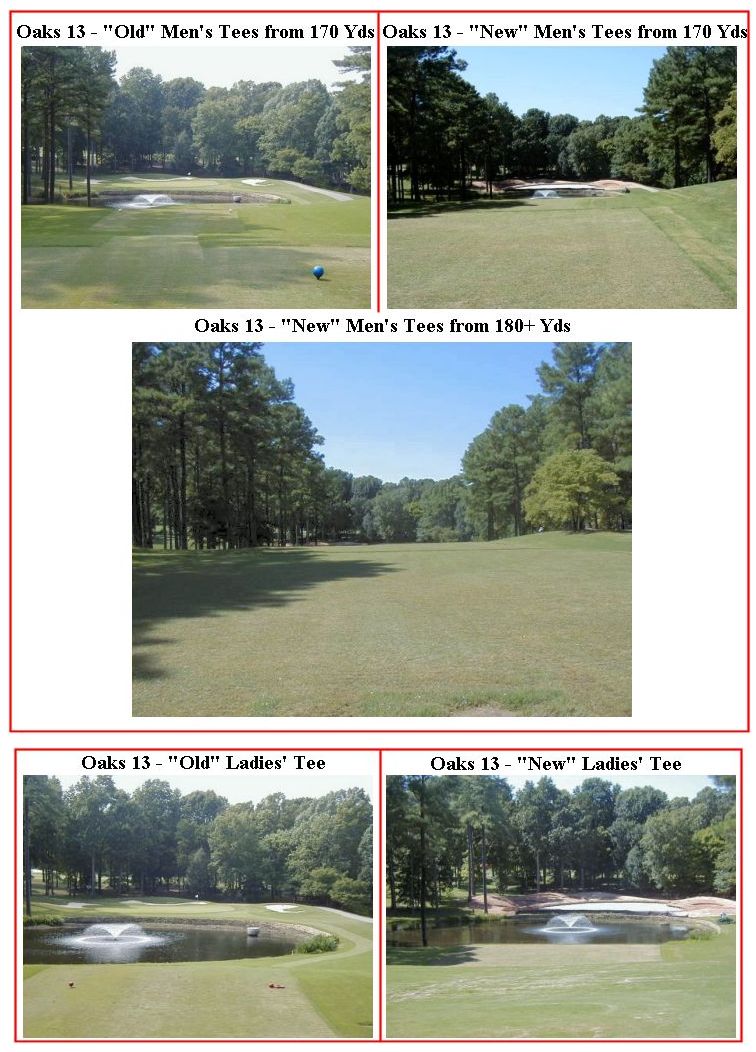
.........
I wish you well in your picture taking and travels or other activities -- and hope you share that with a journal and Web-type of presentation you share with family/friends.
---------------
To contact me about anything on this Web page, please:
send mail to: SCScompA@aol.com
------------------------------
To return to SCScompA's newsletter August 2001 page click on: SCScompA August 2001 newsletter or use your Web browser's Back button.