Using Mirror Images for Printing On Back-side of Paper
Recently, I had a reason to print on both-sides of paper -- and match the backside printing with the frontside.
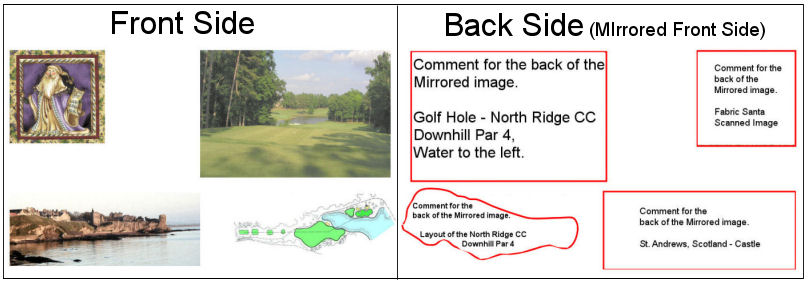
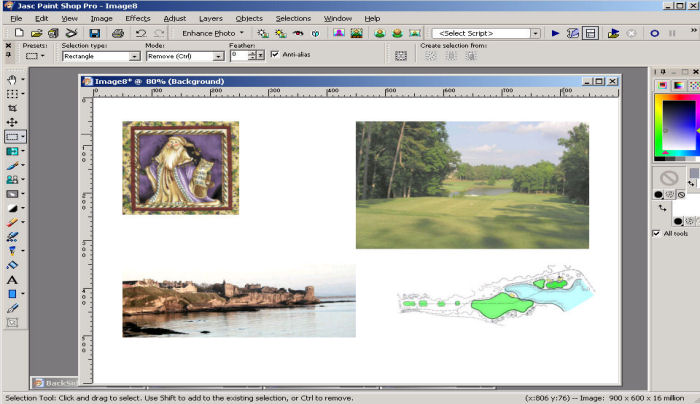
Ready for Printing
Both images. Ready for printing.
The steps taken were to:
- Create the Front Side image or set of images.
I used the PaintShop Pro "Snap to Grid" feature to assist in lining up the four images that I wanted to print on one side of the printout.Save the created Front Side image.
- Mark the areas of the Front Side image that you want printed on the Back Side.
Save the created Marked Mirrored Front Side image. - Clear the area of the Marked Mirrored Front Side so that it appears to you as you want to write on it. The areas that you clear/write on will be on the back of the Front Side image after you print the images (using both sides of the print media).
Save the Cleared Marked Mirrored Front Side image. - Write (or otherwise place a new image or whatever you choose to have on the back of the Front Side image) on the cleared area.
Save the Written-on (or backside-image that you have added) on the Written-on Mirrored Front Side image. - Print the Front Side image.
- Place the now-printed Front Side media in your printer so that the back side of the media will be printed on. (In the case of my HP Deskjet printer, the printed-on side is face down; the just-printed side would be "up").
- Print the Written-on Front Side image.
After the above, your original information will have written-on data on the backside.
You could, for example, now cut the printed media into "cards" (such as business cards) that have printed data on both sides. Or, use the above technique to create your own greeting cards.
The following set of images show the steps in more detail for those who are interested in the PaintShop Pro panels/options used.
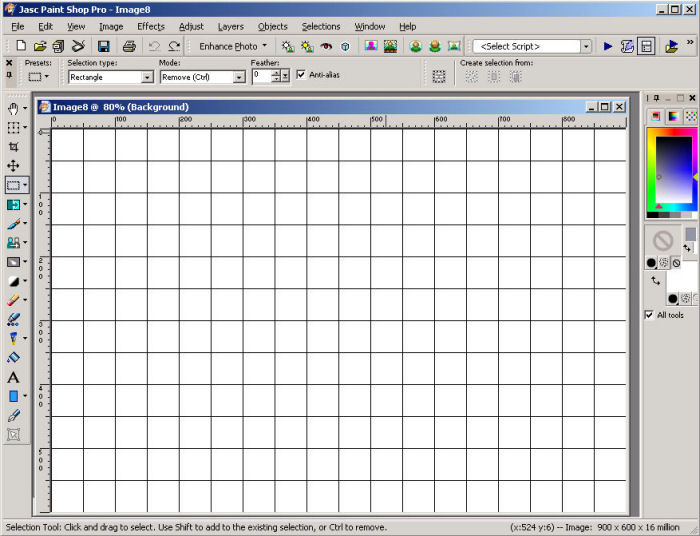
A Blank Image
This will hold the information on the Front Side of the printed media.
Preparing the Blank Image
I like to use the PaintShop Pro "View Grid" option to assist in lining up the Front Side image data. A grid size of 50 pixels and a grid color of black serves my purposes for this example. The grid color may be changed based upon what is placed alongside the grid. The slection will "snap" to the grid if you have toggled the PaintShop Pro View/Snap to Grid option. Try this option and see how that works, if you have not already done so with PaintShop Pro. (Note: The area that you are "moving from" when you move a selection will be filled with the lower-color on the Material's panel. I prefer to have this color (during normal use) be white -- as images that I usually work with have a white background).

Front Side Ready for Information
The PaintShop Pro grid is for alignment, only. The grid does not show in the actual Front Side image.
Images To Be Placed on The Front Side
In addition to images, naturally the Front Side image could include text.
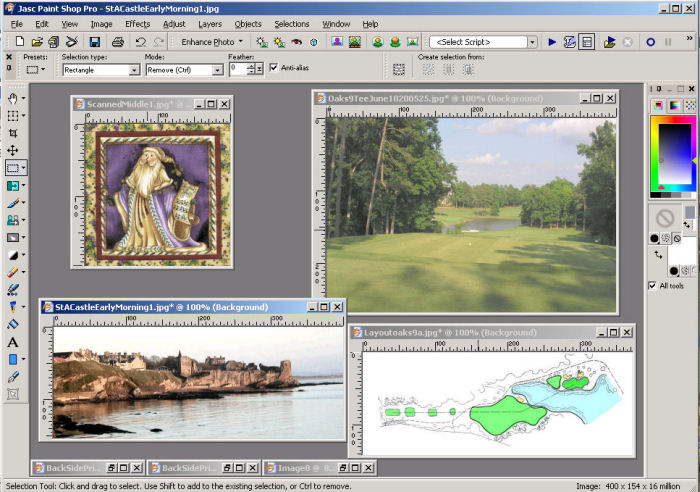
Images Are Placed on The Front Side
Just, one image at a time, Edit/Copy and then use PaintShop Pro's Edit/Paste as New Selection within the Front Side Image. Move the image/selection to the grid as desired. The following shows the four images copied/pasted and positioned into the Front Side (previously-was-blank) space.

Images Are Placed on The Front Side...
The PaintShop Pro grid is just for your use in alignment. It may be shown/removed-from-view by toggling the PaintShop Pro View/Snap to Grid option. Note: I use the shortcut AltCtrlG to toggle this value. Give that a try if you are not familiar with shortcuts when you are using PaintShop Pro.
Now, the following is the image we will be printing on the front side. We simply print that image on a blank page (the paper should be two-sided; that is to say, the opposite side should be able to printed on as well as this current-print side.

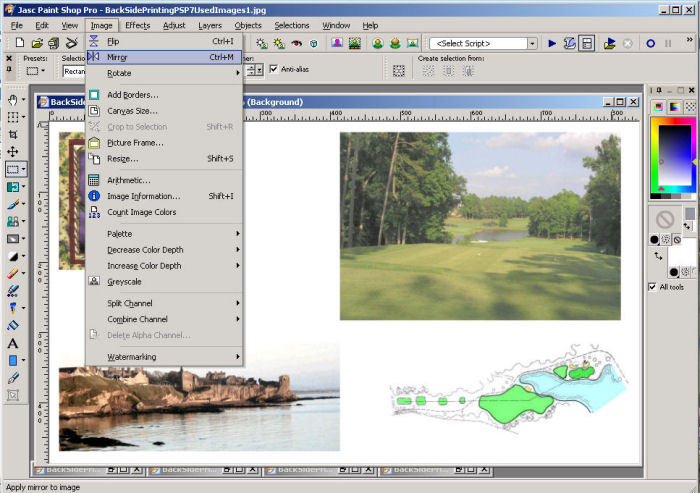
Mirror the image
We save the image (File->SaveAs or shortcut F12). We could print this side -- but, in this example, we print at the end. After saving, we Mirror the image, using either the Image/Mirror pulldown or he shortcut CtrlM. This "mirroring" is just to give us a boundary for placing the data that we want on the back side of the previously set up/printed image.
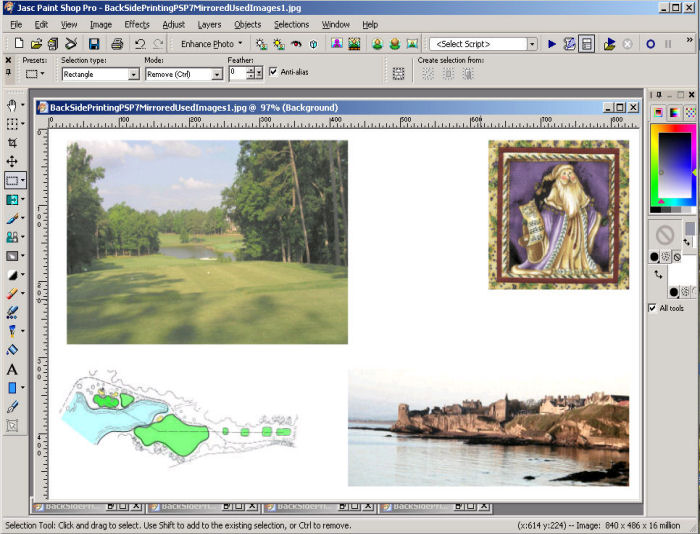
The "Mirrored" image
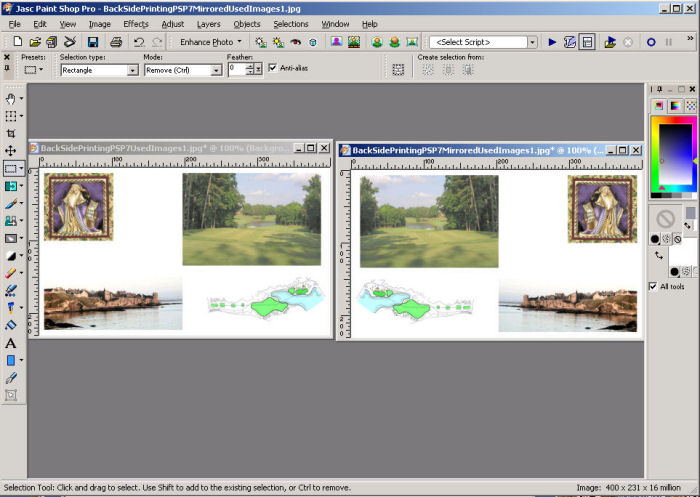
The Original/Front-Side and the "Mirrored" image
Preparing the Backside-Text Area
To allow us a boundary for placing the text (for the backside of the already-printed data) we may choose to bound the text area with a Rectangle using the Tool as indicated, below.
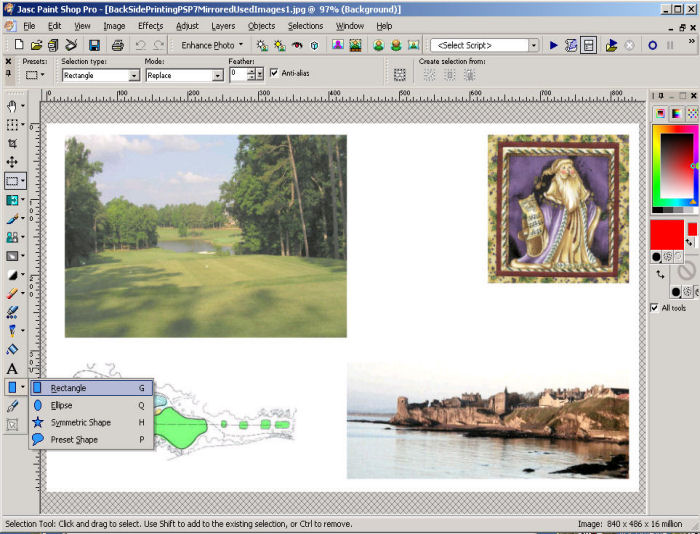
Preparing the Backside-Text Area...
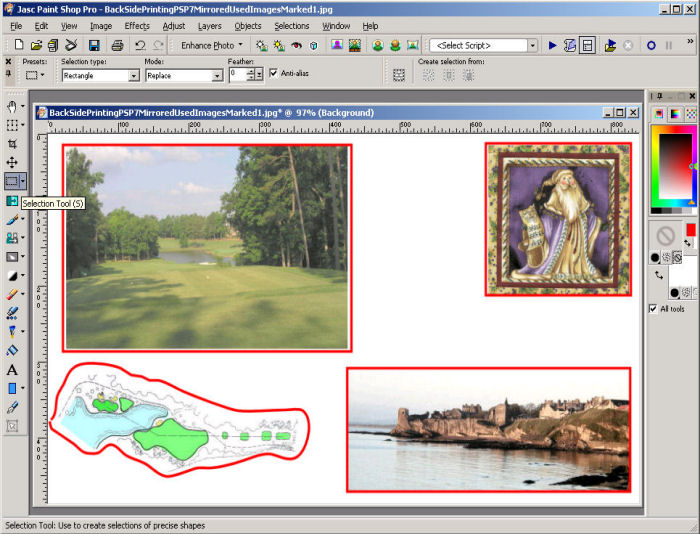
This shows the three parts of the image where we could use the rectangle tool. The fourth area (the golf hole layout), in this example, we prefer to use something other than a rectangle!
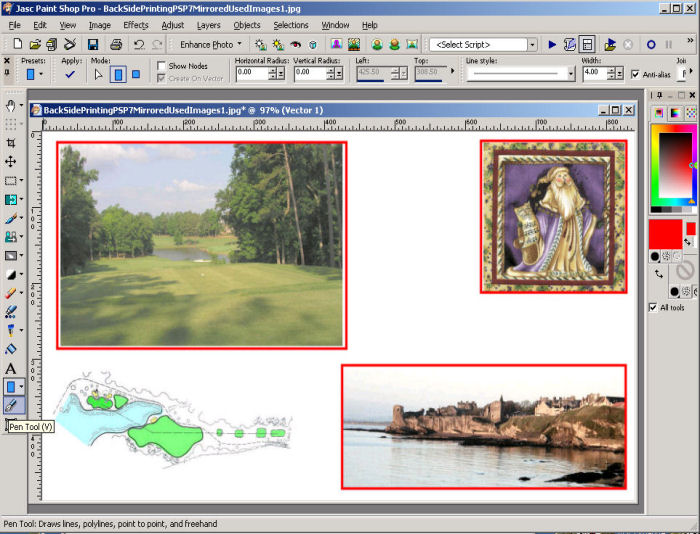
Preparing the Backside-Text Area...
We use the Pen tool as shown in the Tool Bar (left side of the panel).
Preparing the Backside-Text Area...
Now, all four of our areas are "bounded". We will place text within these areas.
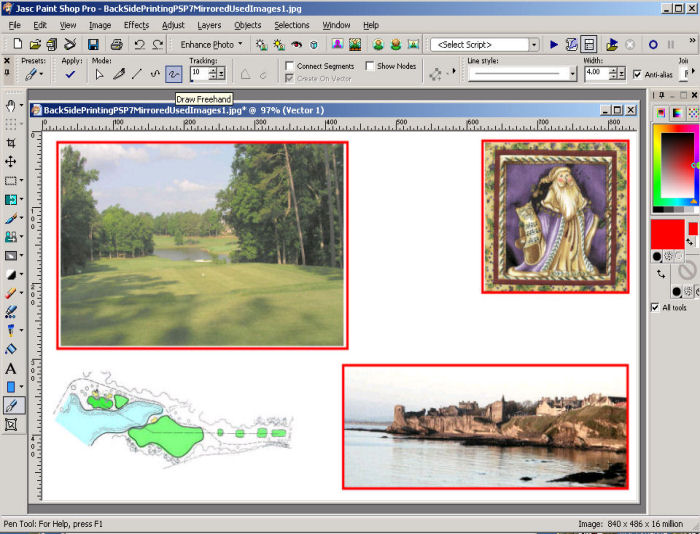
Clearing the Backside-Text Area
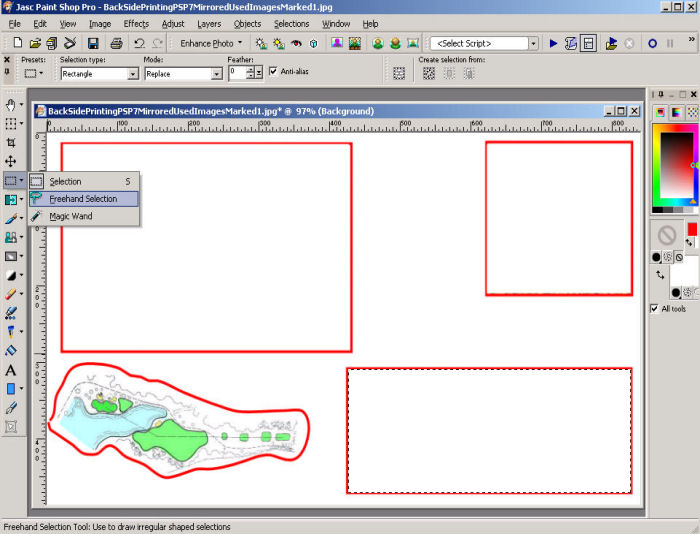
We will use the Select(s) tool to clear the bounded area.
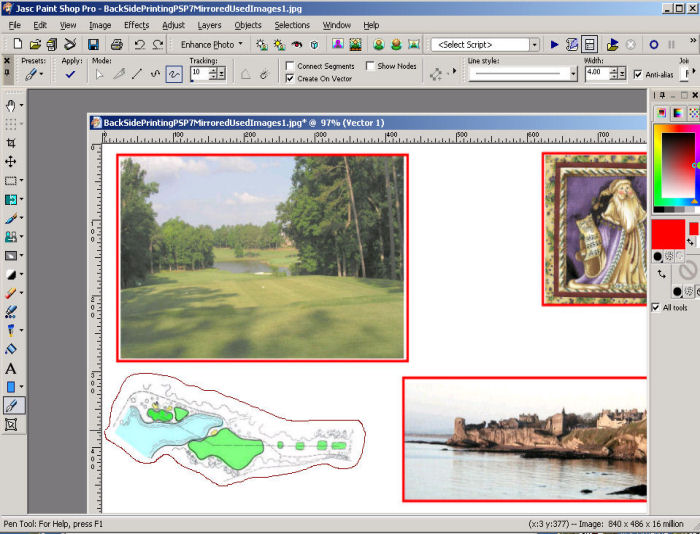
Clearing the Backside-Text Area...
The Selection tool is a rectangle to clear the rectangular bounded areas. We will use the Freehand tool to clear the non-rectangular area.
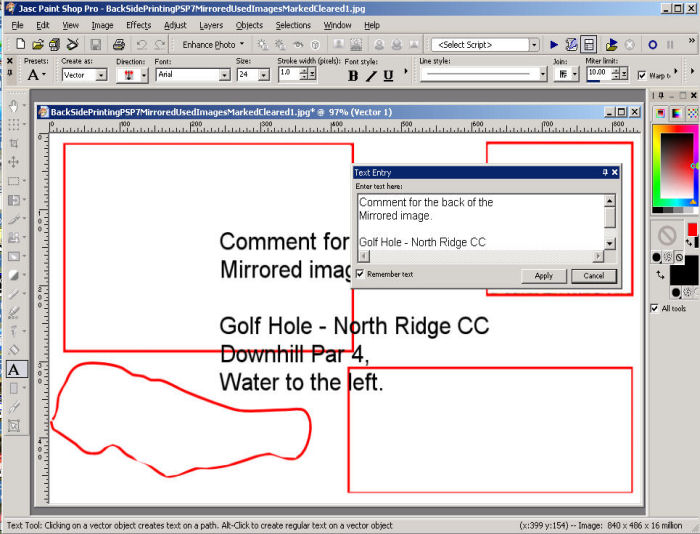
Place the Text
All that is left is to place the text within the bounded areas. Then, we File-Save As the backside image.
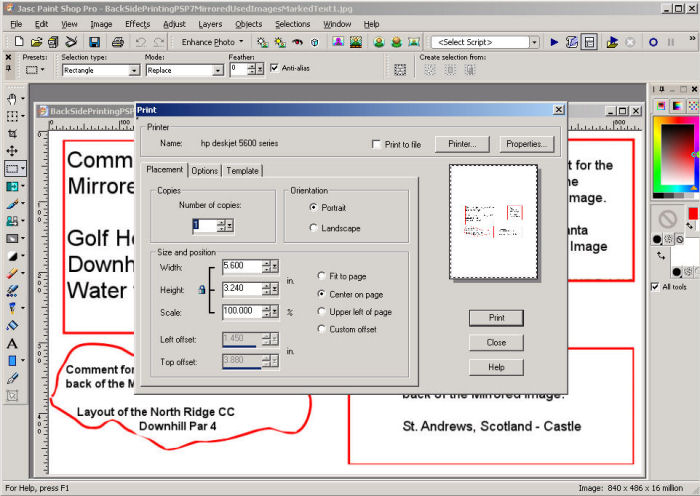
Ready for Printing
Both images have been saved and are ready for printing.
Ready for Printing...
Print the Front side image as usual. Remove the paper -- and, put it back into the printer ready for printing on the other side!
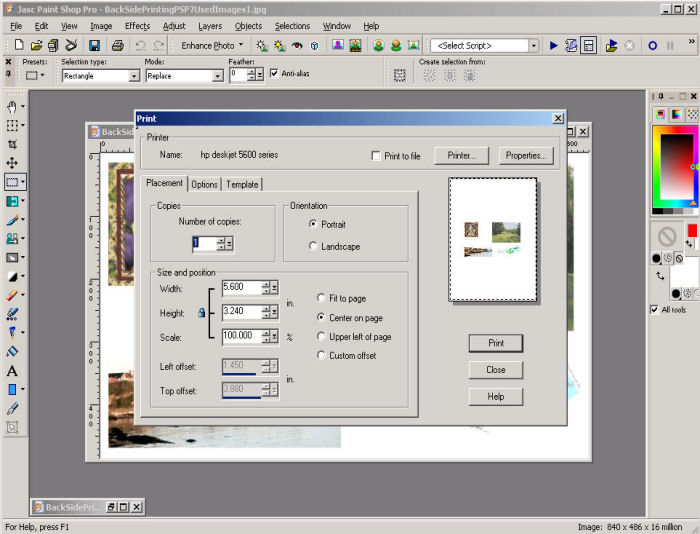
Ready for Printing...
Print the Back side image as usual, printing it on the other side of the first-printed Front side.
There are a lot of reasons for "back side" printing. Have fun -- and, let me know how you do.
-----------------------------------------------------------------
Don't hesitate to contact scscompa@aol.com with any comments regarding the above or for any related discussion.